
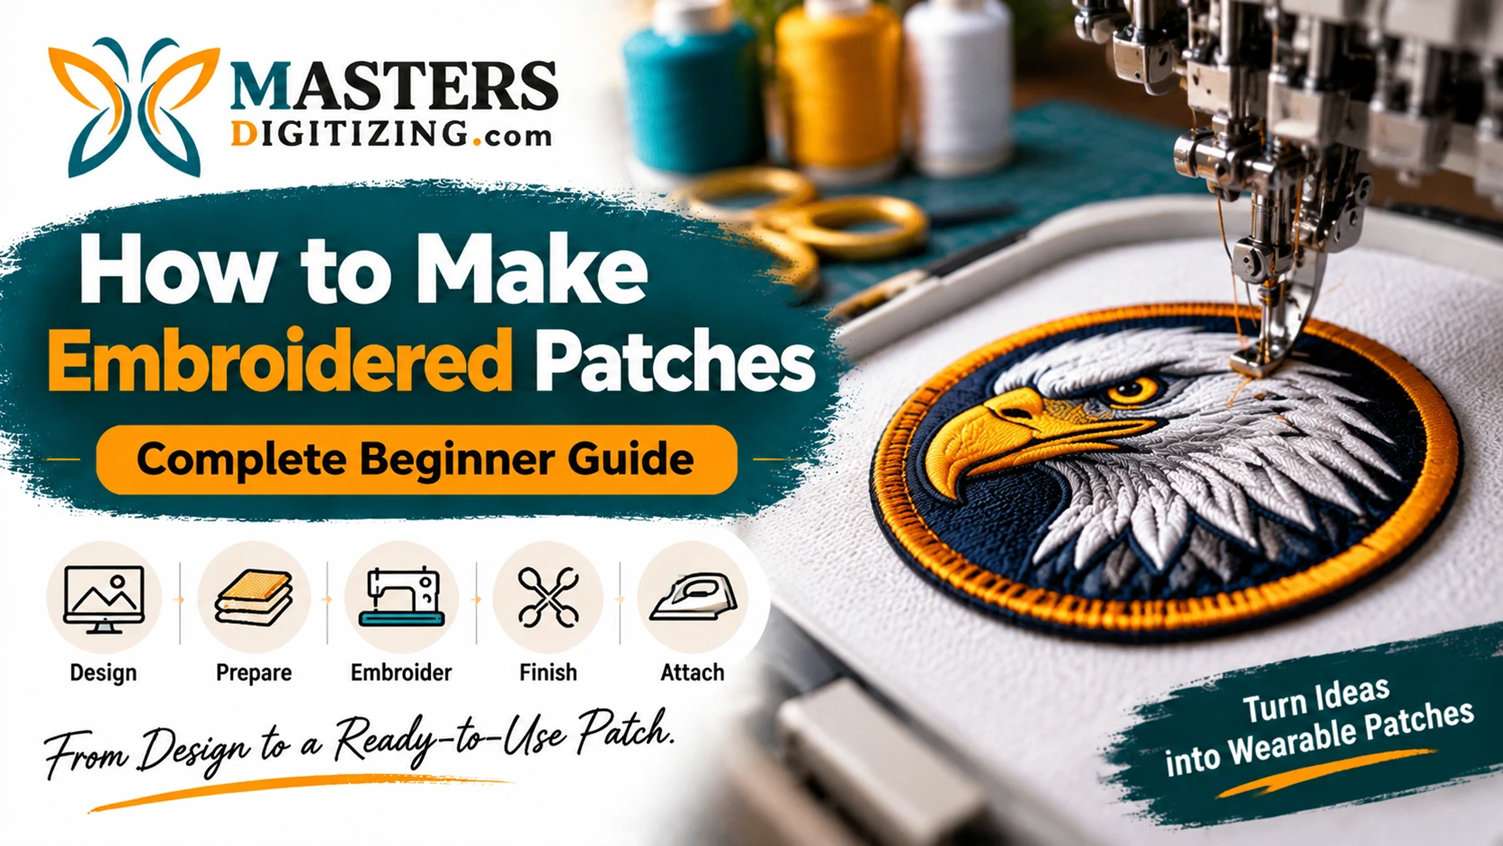
Embroidered patches are a popular way to personalise jackets, hats, bags, uniforms, and other fabric items. They allow you to add logos, names, symbols, and custom artwork without embroidering directly onto the finished garment. If you want to learn how to make embroidered patches, you can create them using basic hand embroidery supplies or an embroidery machine.
The process involves preparing a design, selecting suitable fabric and stabiliser, stitching the artwork, finishing the edges, and choosing an appropriate backing. Each stage contributes to the appearance, durability, and overall quality of the finished patch.
Whether you are making a patch for personal use, a clothing brand, or a business, understanding the right materials and techniques can help you achieve better results. This beginner-friendly guide explains the complete process, from preparing your artwork to attaching the finished patch.
What Are Embroidered Patches?
Embroidered patches are decorative fabric pieces featuring designs created with embroidery thread. Instead of stitching directly onto a jacket, shirt, or bag, the design is embroidered onto a separate fabric base. The finished piece can then be attached to different items using sewing, heat-activated adhesive, or hook-and-loop backing.
These patches are commonly used for clothing brands, sports teams, company uniforms, clubs, and personal accessories. Their designs can include lettering, logos, illustrations, numbers, and decorative patterns.
One of their main advantages is versatility. A single design can be produced in multiple sizes and attached to different garments or accessories. Understanding how embroidered patches are made helps you select suitable materials and techniques for your project.
Materials Needed to Make Embroidered Patches
Before starting, gather the materials required for your preferred embroidery method. You do not necessarily need expensive equipment for a simple handmade patch, but machine embroidery requires additional supplies.
1. Base Fabric
The base fabric holds the embroidery and gives the patch its structure. Common choices include:
- Twill: A popular choice because it provides a stable surface for stitching.
- Felt: Suitable for simple handmade patches and designs that need a soft backing.
- Canvas: A sturdy option for designs requiring heavier fabric.
- Denim: Useful for decorative patches with a textured appearance.
Choose your patch fabric according to the design, intended application, and required durability. When learning how to make embroidered patches, selecting a suitable base material is an important starting point because it affects stitching quality and the final appearance.
2. Embroidery Thread
Embroidery thread creates the design and determines its colours and visual appearance. Polyester and rayon threads are commonly used for machine embroidery, while embroidery floss is suitable for hand stitching. Select colours that provide enough contrast to make the artwork easy to recognise.
3. Stabiliser
A stabiliser supports the fabric during embroidery and helps reduce unwanted movement, distortion, and puckering. Cut-away, tear-away, and water-soluble stabilisers are available for different applications. The appropriate type depends on the fabric, stitch density, and embroidery technique.
4. Needles and Embroidery Hoop
Hand embroidery requires suitable embroidery needles and a hoop to keep the fabric stretched. Machine embroidery requires a compatible machine needle and hoop size for the selected design.
5. Cutting and Finishing Tools
Sharp fabric scissors are useful for cutting the patch into its final shape. You may also need marking tools, transfer paper, fabric adhesive, and suitable backing material.
6. Patch Backing
The backing determines how the finished patch will be attached. Common options include sew-on backing, iron-on adhesive, and hook-and-loop material.
How to Make Embroidered Patches Step by Step
Learning how to make embroidered patches becomes easier when you divide the process into manageable stages. Whether you are creating a patch for personal use or preparing a small production project, each step should be completed carefully.
Create or Prepare the Design
Start by deciding what you want your patch to look like. You can create an original illustration, prepare a business logo, use lettering, or adapt an existing design. Consider the final patch size before preparing the artwork because very small lettering, thin outlines, and complicated details may not translate well into embroidery.
If you are learning how to make an embroidered patch for the first time, start with a simple design containing clear shapes and a limited number of colours. This makes the stitching process easier to manage and helps prevent unnecessary complications.
For machine embroidery, artwork must be converted into a machine-readable embroidery file. This process is known as embroidery digitizing. It involves selecting stitch types, directions, density, underlay, and other settings according to the design and fabric.
If you want to understand how to create embroidered patches for commercial or personal use, remember that proper artwork preparation is the starting point for a clean finished result.
Before proceeding, check that the design fits the available embroidery area and that its important details remain visible at the intended size.
Choose Fabric and Stabilizer
Once the artwork is ready, select a suitable fabric for the patch. Twill is a practical option for many conventional embroidered patches, while felt and canvas can work well for different handmade projects.
Place the stabiliser behind the fabric to provide support during stitching. For machine embroidery, secure both materials properly in the hoop. Make sure the fabric remains smooth and evenly positioned without excessive tension.
The stabiliser should be appropriate for the fabric and stitch density. A design with dense embroidery may require stronger support than a simple design with fewer stitches.
Taking time to prepare the materials correctly helps reduce puckering, uneven stitching, and unwanted movement. When planning how to make embroidered patches for a particular garment or accessory, consider the fabric and stabiliser together rather than selecting them independently.
Embroider the Design
This is the stage where the artwork becomes a stitched design.
For hand embroidery, transfer the artwork onto the fabric and secure it in an embroidery hoop. Use suitable stitches, such as satin stitch, backstitch, or split stitch, depending on the shapes and details in your design. Work through the main elements carefully and maintain consistent thread tension.
For machine embroidery, load the prepared embroidery file into a compatible machine. Position the hooped fabric correctly, select the appropriate thread colours, and run the design according to the machine instructions.
Watch the stitching process to identify thread breaks, fabric movement, or other problems. If necessary, stop the machine and correct the issue before continuing.
Whether you want to learn how to embroider a patch by hand or machine, the main objective is to achieve clear details, consistent coverage, and a neat appearance. Avoid rushing this stage because stitching quality has a direct effect on the finished patch.
Cut and Finish the Patch Edges
After completing the embroidery, allow the patch to settle before removing excess material. Carefully cut around the design, leaving enough fabric for the selected edge-finishing technique.
The edges are important because unfinished fabric can fray and make the patch look incomplete. To finish patch edges properly, choose a method that suits the patch material and production technique.
For handmade patches, a blanket stitch or whip stitch can help secure the outer edge. For machine-made patches, a dense satin-stitch border can cover the raw fabric edge. Commercial patch production may also use a merrowed border created with specialised overlocking equipment.
Keep the cutting line even and avoid trimming too close to the embroidery. Damaging the border stitches can affect the patch's shape and durability.
Add Backing: Sew-On, Iron-On, or Velcro
The final step is selecting and attaching the appropriate patch backing.
Sew-On Backing: This option allows the patch to be stitched directly onto clothing, bags, jackets, or other fabric items. It is a practical choice when a secure attachment is required.
Iron-On Backing: Heat-activated adhesive is applied to the back of the finished patch. When attached to a compatible garment using the adhesive manufacturer's instructions, it provides a convenient alternative to sewing. Some applications benefit from additional stitching around the edges.
For more detailed application instructions, read our guide on iron on embroidered patches.
Hook-and-Loop Backing: This option allows patches to be attached and removed when needed. It is useful for interchangeable patches on bags, uniforms, and accessories.
Choose the backing according to the garment material, intended use, and expected washing or handling conditions. Not every fabric is suitable for heat application.
Handmade vs Machine-Made Embroidered Patches
Both methods can produce attractive patches, but they differ in equipment, production time, consistency, and design capabilities.
Handmade Patches
Handmade patches are created using needles, embroidery thread, fabric, and basic stitching techniques. They are suitable for personal crafts, small decorative projects, and designs where an individual handmade appearance is preferred.
If you want to make your own embroidered patches at home, hand embroidery can be a practical starting point. However, completing detailed designs by hand can take considerable time. Maintaining consistent sizing and stitching across multiple patches may also be challenging.
Machine-Made Patches
Machine-made patches use embroidery machines to reproduce designs through programmed stitching. They are generally more suitable when consistent results, detailed artwork, or multiple copies are required.
The quality of machine embroidery also depends on the digitized design. Incorrect stitch settings, unsuitable density, or poor underlay can affect the final result, even when the embroidery machine is working correctly.
For larger projects, professional digitizing can help prepare artwork for more controlled and consistent embroidery production.
FAQs About Making Embroidered Patches
1. Can you make embroidered patches at home?
Yes. You can make embroidered patches at home using basic hand embroidery supplies or an embroidery machine. Choose suitable fabric, prepare your design, complete the stitching, and finish the edges before adding the required backing.
2. What fabric is best for embroidered patches?
Twill is a popular choice because it provides a stable surface for embroidery. Felt, canvas, and denim are also suitable for certain designs. The best option depends on the patch's intended use, design complexity, and required appearance.
3. Do you need an embroidery machine to make patches?
No. You can create patches by hand using embroidery needles, thread, fabric, and an embroidery hoop. However, an embroidery machine can make production faster and help maintain consistency when creating multiple patches.
4. How do you finish the edges of an embroidered patch?
You can finish handmade patch edges using blanket stitches or whip stitches. Machine-made patches commonly use satin-stitch borders, while commercial production may use merrowed edges. The finishing method should prevent fraying and give the patch a clean outline.
5. Can embroidered patches be made iron-on?
Yes. You can attach heat-activated adhesive backing to a finished embroidered patch. Follow the adhesive manufacturer's instructions for temperature and application time, and check that the garment fabric is suitable for heat application.
Conclusion
Learning how to make embroidered patches involves more than simply stitching a design onto fabric. Proper artwork preparation, fabric selection, stabilisation, embroidery, edge finishing, and backing all contribute to the final result.
Hand embroidery is suitable for personal projects, while machine embroidery offers greater consistency for repeated designs and larger production requirements. If you are preparing patches for a brand, uniform, sports team, or business, professional embroidery digitizing can help turn your artwork into a production-ready stitch file.
At Masters Digitizing, we provide professional embroidery patch digitizing services to help prepare designs for embroidery production. Explore our custom embroidered patches and embroidery digitizing services to get your artwork ready for the next stage.